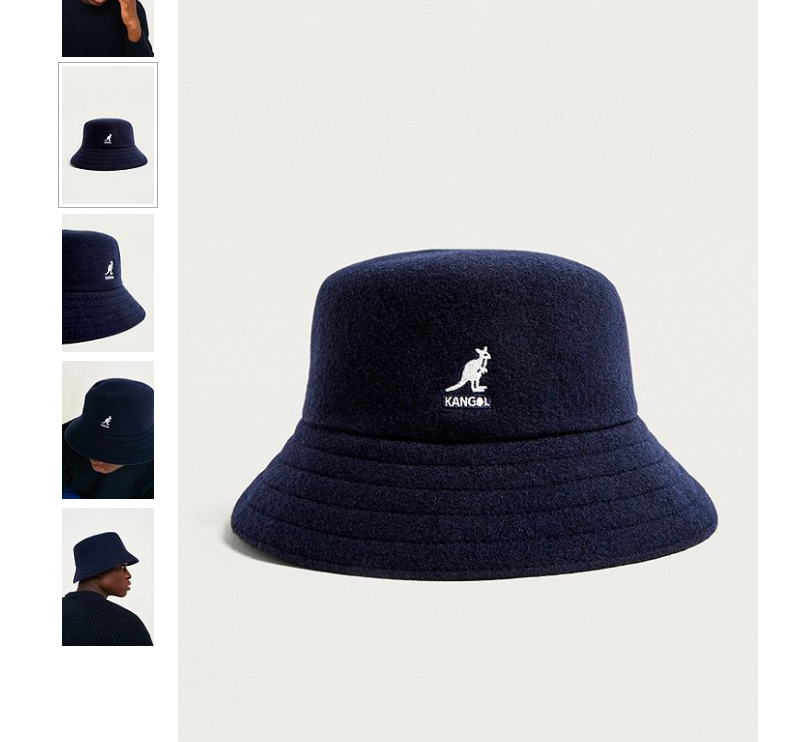
Bucket Hat
Hi!
Today I want show you how I created my virtual clothes. I used Illustrator for this project.
In this post I will show you how to make a hat.
First, I looked for a picture on which something resembles my design. The next step was to take a screenshot and insert the picture into the program....


Then I used the eye icon to have access to the project I drew.


And this is my final effect...

Today I want show you how I created my virtual clothes. I used Illustrator for this project.
In this post I will show you how to make a hat.
First, I looked for a picture on which something resembles my design. The next step was to take a screenshot and insert the picture into the program....
....then create another layer to work freely.

Then I used the ruler (ctrl & r) to mark the center of the object.

The next step was to trace the entire hat with the tool (size 2). When I was doing this I had blocked the first layer.
Then I used the eye icon to have access to the project I drew.

The next step has come where I have been able to correct minor errors, such as leveling or rounding the shape.

And this is my final effect...

I hope that I can help in creating virtual clothes and accessories.

Good process, can we see how you have applied this to your own designs now on the blog? We need to see these finalised and uploaded onto the blog and final outcomes on the website - the end is very close now!
ReplyDeleteVery good-described of the process
ReplyDelete